Would you Pin this for me?
Use tattoo transfer paper to decorate a pumpkin!
I am SO excited about writing this post! Let me tell you why When I saw this tattoo paper technique I just knew I had to give this a go. Because although you may be a pumpkin lover, not everyone is a fan of having the bright orange variety in their home as a display. And so the thought of being able to share a neutral pumpkin display as an autumn decoration with you guys got me VERY excited.
But that’s not the only reason I’m excited. I contacted the amazingly talented Isabelle from Opiadesignsstudio on Etsy. Who kindly agreed to let me give you this gorgeous printable for free as a download. Can I have a HUGE “Thank you” for Isabelle?
This means you can download and print this beautiful watercolour arrangement for absolutely nothing and have a go at making this project for yourself. All you need is a printer, some of the tattoo paper, a (white) pumpkin and you’re all set!!
And if you want a different design, check out the other wonderful creations and designs that Isabelle has to offer in her Etsy store. Not a fan of pumpkins? You can use the same technique on a canvas too (check out the bottom of this post where I have used this on a mini canvas).
What you need for this tattoo transfer project
- A pumpkin (I used a ghost pumpkin that we picked recently and gave it a light coat of white acrylic paint to make it even whiter, but this is of course optional!)
- Some paint for the pumpkin (optional as above)
- Tattoo stencil paper – I got mine from Amazon which gives you 2 large sheets. This is enough for a few projects!
- A lovely print – you’re all set with this one. Use the download here. Or a second option here.
- A pair of scissors – I would not be without mine from Jim Holtz
- An ink-jet printer – we’ve got this Canon one
- A damp cloth
- A popsicle stick or credit card
Read the instructions on your tattoo paper before starting this project. Download and print out a design onto your tattoo stencil paper. Just a side note – If you are going to be using you own design that involves wording, make sure you are printing it in reverse (you can just about make out a small monogram I did in the right hand side corner – see how it’s in mirror image?).

Get the sheet of adhesive “transfer” paper and carefully peel off the strip of the backing paper. Line this up with your stencil paper (pic 2) and smooth the transfer paper over your design (adhesive side down – pic 3). Take it easy doing this and try to get it as smooth as possible to avoid any wrinkles. Use a credit card or something similar to smooth out any wrinkles if needed.


Cut your design into the desired shape.
watch how i do the rest on facebook!
So, I did the rest of the project on a Facebook Live. You can catch the replay here for the full technique!
Peel the backing off your design. Press the paper (sticky side down) onto the pumpkin and gently press down working from the middle to the outside of the design.
Get a damp cloth and repeat this process. Work from the middle and move outwards. Smooth down the edges, making sure to press it down carefully to avoid any tears.
When this is done you are ready to lift the backing off the stencil. Carefully lift off a corner and peel away. The paper should come away quite easily at this stage. Check to make sure your design is staying on the pumpkin. If needed, take your damp cloth again carefully press down on the design to get it to stick.
And of course, I just had to finish it off with a messy bow on top!

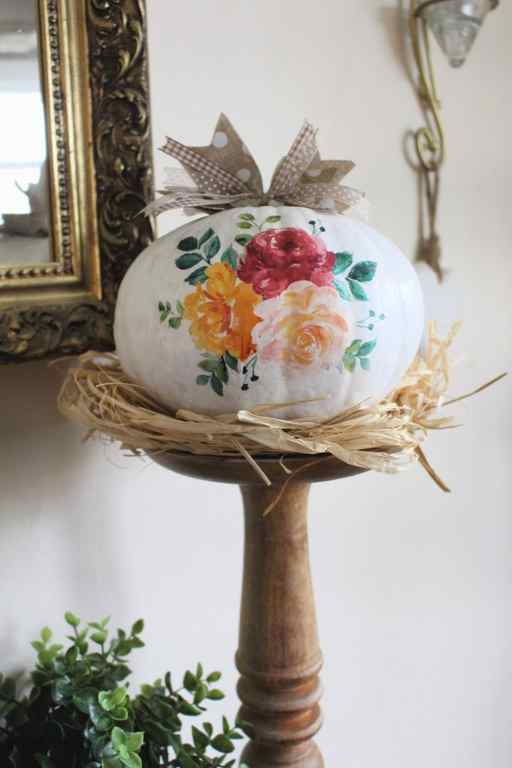
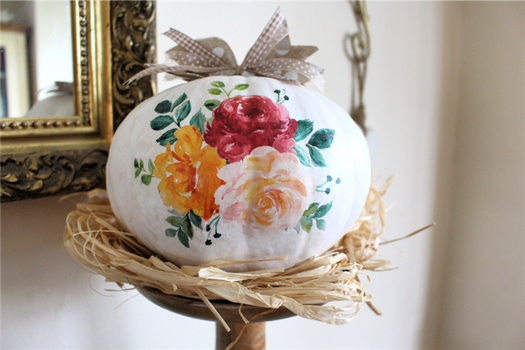
I absolutely love how this has turned out and will definitely be using this technique in future for other projects.
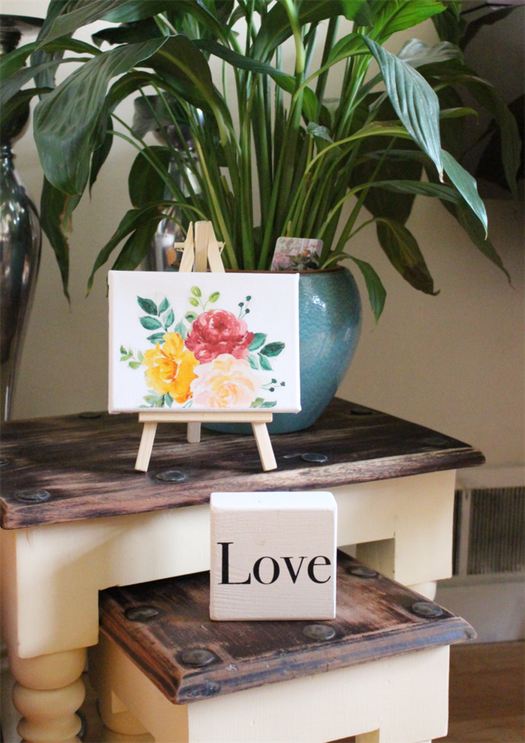
In fact, I used a left over second transfer on a small canvas that I bought in The Works for £2. Which just brightens up this little corner under a plant
Finally, just another huge thank you to Isabelle for her amazing art work.
Would you Pin this for me?
Some of the links in this post are affiliate links, which means I earn a small commission if you decide to use my links to purchase something (at absolutely no extra cost to you!). This will allow me to continue to share great ideas and projects with you, so I am very grateful for your support!
–>
Pumpkins Screen Print Transfer (Low Heat Formula)
Interested in more sublimation and screen print transfers? Join our Facebook group at https://www.facebook.com/groups/berkshireandwaytransfers for all our newest and upcoming transfers. You’ll be able to participate in group discussions, learn more about the transfer application process and make suggestions on new design ideas. VETERAN OWNED SMALL BUSINESS! WE APPRECIATE EACH AND EVERY ORDER! Listing: Pumpkins Screen Print Transfer Printed: Plastisol Inks and Heat Transfer Paper Graphic Design Color(s): Multi-Colored (Low Heat Formula) Design Size: Adult XL – 12″W (Size is measured by the widest part of the design. Please note that not all designs are going to be exact squares, some may be taller, some may be shorter. However, all designs will be sized proportionally.) This listing is for a PHYSICAL SCREEN PRINT TRANSFER. You WILL NOT receive a digital download. You will receive a ready to press screen print transfer.
What are Screen Print Transfers? A screen print transfer (also known as a plastisol transfer) is an image which has been screen printed onto release paper. Instead of being directly screen printed onto a shirt or other item, the design is printed onto transfer paper, then applied with a heat press using heavy pressure. These screen print transfers can be applied to 100% cotton, 100% polyester, and cotton/polyester blends on light and dark colored garments. Screen print transfers must be applied with a heat press. They CANNOT be applied with an iron or any type of EasyPress because these devices do not allow enough even pressure needed to properly adhere the inks to the garment. When applying a low heat screen print transfer, set your heat press temperature to 325 degrees Fahrenheit, the timer to 7-8 seconds, and the pressure to heavy. (Please note your heat press should be difficult to open and close, but not impossible to open and close. Screen print transfers require heavy pressure to allow the inks to properly adhere to the garment. If enough pressure is not being used when pressing the screen print transfers, it will cause the inks to lift, crack and/or peel from the garment. The most common mistake made when pressing the screen print transfers is not using enough pressure allowing the inks to properly adhere to the garment.) Using a fresh adhesive, lint-roll the surface of your garment where you will be applying your design prior to prepressing to remove any lint. Prepress your garment for 7-8 seconds to remove any wrinkles and moisture. Place the screen print transfer face down onto the garment. (The ink on the transfer should be facing down touching the garment, not the upper portion of your heat press platform.) Press your garment at 325 degrees Fahrenheit for 7-8 seconds with HEAVY pressure. Slowly peel off the transfer paper while the ink is still hot. (These screen print transfers are designed to be peeled hot, not cold.) (Optional: After pressing your transfer and slowly peeling off the transfer paper, we encourage you to reposition your garment on the heat press, lay a piece of parchment paper over the design, and pressing your garment again for another 7-8 seconds with heavy pressure. This will ensure if there are any “cold spots” in your heat press, all areas of the design will get the proper amount of heat exposure and pressure allowing the inks to properly adhere to the garment and will prevent the inks from lifting, cracking and/or peeling.) We do not recommend using Teflon sheets, butcher paper and/or pillows when initially pressing your transfer, only during the second press. For more information on the High Heat Screen Print Application Process: Low Heat Screen Print Transfer Application Instructions – Berkshire and Way
By purchasing this listing you agree to having some knowledge of the screen print process and how to use a transfer. I have outlined instructions within this listing but assume you understand the application process.
We DO NOT accept any returns or exchanges on screen print transfers. You may email us at [email protected] or send us a direct message with any questions you may have prior to purchasing any of the screen print transfers.


