Way too cute…I would like to attempt this, but no way would I put this outside . I would want to admire it all the time… lol
How to Paint a Gingerbread House Doormat
Welcome to week 3 of our Homemade Gift Series. Make sure to visit Wendy from WMDesign House, Amy from Amy Sadler Designs, and Regina Saved From Salvage to see their beautiful ideas this week.
You don’t have to be an artist to paint your own gingerbread doormat…I promise! It’s not that hard and most of it is painting straight lines.
This would also be the most adorable hostess gift for a holiday party! I would grab an inexpensive boot tray and wrap a ribbon around both the rug and tray. Or the doormat and a fresh greenery wreath wrapped together with a big bow…better than that bottle of wine and poinsettia!

Start off with a plain doormat. This one is $10 from Target but I’ve seen them at Lowe’s and Home Depot as well.
The Gingerbread Lane Mat from Ballard Designs inspired this rug. I pulled up the image on my iPad as a guide for drawing and painting my plain coir mat.
This post may include affiliate links; you can read my disclosure policy here.
Here is the inspiration rug for you to use:
Outline the Gingerbread Village

Before I started to paint the gingerbread rug I outlined the houses with white chalk using a ruler to help guide me…I’m left-handed and am notorious for crooked lines!!
Remember this doesn’t have to be perfect or look exactly like the inspiration rug…mine does not come out the same.
Paint the Gingerbread House Outlines

Once I had a rough outline of the gingerbread houses on the doormat with the white chalk it was time to paint. Using white acrylic paint and a straight paint brush I started to go over the chalk outlines.

The paint does not go on smoothly onto the coir mat and that’s OK! When you are looking closely at the rug when you are painting it may look sparse, you really have to stand back a few feet to check.
If you are like me you can keep a ruler close by to make straight lines with your paint!

The Ballard Designs picture helped give me ideas for how to draw the windows and doors. My rooftops were not as detailed as the inspiration picture…but that’s alright because (spoiler alert) it comes out adorable in the end.
Paint the Windows & Doors

After I let the paint dry on the outlines of the houses it was time to go back and add the doors and windows. This time I grabbed a small angled craft painting brush and a small tip brush to paint in the details.


All I did was try to vary the styles as I went across the rug and worked on each of the houses. Nothing needs to be perfect. When you are standing back it will look amazing.

Add Festive Details

Let the paint on the windows and doors dry for a few minutes before adding a few festive details. Using a small round paintbrush and dark green acrylic craft paint it was time to add a few Christmas trees, wreaths, and garlands to my gingerbread village doormat.
I’ll let you in on a little secret…this is where you can disguise any boo-boos you made when you were painting the doors and windows.

Then I added a few bows and berries with barn red acrylic paint. To paint the bows I basically made 2 round dots of red paint and added 2 lines underneath. When you stand back from the wreath they will look like bows.

As I worked my way across the rug I just tried to vary the details that I painted on each house.

But garlands and bushes disguise any crooked windows.

Now let the paint set and dry completely before you try and move it.
Finished Doormat

Really, how cute is this. Overall it is a pretty easy project just remember that you don’t have to be the best artist in the world to do projects like this!! It is basically drawing lines and letting your imagination guide you.

Handmade Gift Series

Welcome to week 3 of our Handmade Gift Series. Make sure to visit Wendy from WMDesign House, Amy from Amy Sadler Designs, and Regina Saved From Salvage to see their beautiful ideas this week.
WM Design House

This week Wendy from WM Design House made lavender sea salt homemade soap.
Amy Sadler Designs

Amy made the cutest felt Christmas coasters. What an adorable idea for a hostess gift this holiday season!!
Saved From Salvage

Regina will show you how to make keepsake ornaments this week. It’s such a clever idea for a homemade gift to give!
Check out week 1 & week 2 of the handmade gift series

 WEEK 1 | WEEK 2
Jennifer Howard
Owner/ Creator of Cottage On Bunker Hill
Hey there, I’m Jennifer and I’m on a mission to transform houses into homes without emptying your pockets! From smart shopping tips that keep budgets happy to crafting stunning decor pieces, my goal is to empower you to curate a space that tells your story.
Related Posts

Create Your Own Rustic Christmas Ornaments with Wood Slices and Pinecones
If you’re looking for a unique and affordable way to add some rustic charm to your Christmas decor, consider making your own ornaments using wood slices and pinecones. This simple project…

Threshold Designed with Studio McGee Spring 2022 Launch
The new Threshold Designed with Studio McGee Spring 2022 launch just happened…and it’s fabulous! One thing that I was surprised to see is that they have ventured into large pieces of…

Crafting with Nature: 25 DIY Projects Using Flowers and Botanicals
Today I have put together a collection of my top 25 DIY crafting flower and botanical projects so that they are all in one easy place for you to find. Whether…

DIY Woven Dried Botanical Shadowbox
Make a new piece of wall art with a natural touch. Learn how to make a DIY woven dried botanical shadowbox in this step-by-step guide. Lovely way to display your dried…

How To Make Moss Ball Topiaries
DIY Topiary. Make a set of moss ball topiaries for a fraction of the cost of store-bought. I will also show you how to make new pots look old with a…

DIY | Dresser Makeover
How To Revive A Dated Dresser I recently updated my bedroom. We had a dated cherry sleigh bed and matching dressers (Can you say Y2K!). I gave away the bed and…
Leave a Reply Cancel reply
This site uses Akismet to reduce spam. Learn how your comment data is processed.
DIY Gingerbread House Painting | a holiday tradition
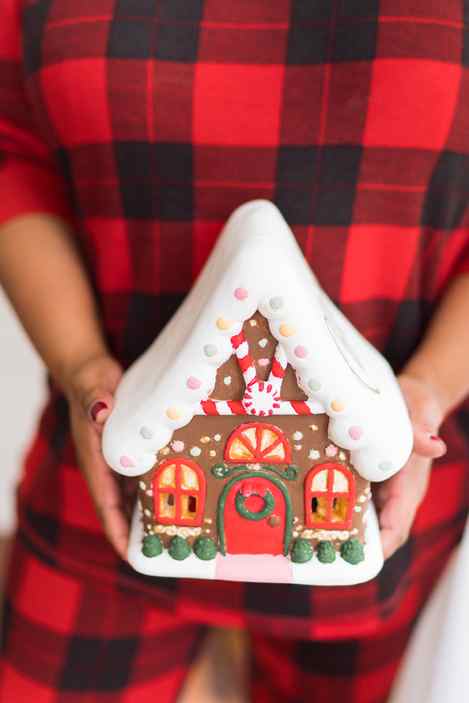
Anyone who knows me knows I am not big into DIY, but I have to say this was the most relaxing DIY I have ever done. I can’t wait to make this an annual tradition and add to my collection. If you’re hosting for the holidays, a DIY gingerbread house painting activity is a must. It’s a great idea for a keepsake and annual holiday tradition. I am sharing a quick and easy how-to and the supplies I used to paint my plaster house.
Posts on ChicHomeStyle.com may contain affiliate links. Click HERE for full disclosure

PAINTING YOUR GINGERBREAD HOUSE IN 4 EASY STEPS

- Add a personalized touch by having each person’s name calligraphed on the roof for a special touch. My houses were personalized by Yellow Rose Calligraphy
- Paint the house using Espresso paint. Let dry and add additional coats as needed to prevent the “streaked” look.
- Select the accent colors you like best. Use one of the fine-tip brushes to paint the accents. Let dry and add additional coats as needed.
- Use the white paint to touch up any spots for a cleaner look.

DIY GINGERBREAD HOUSE PAINTING SUPPLIES
HOT CHOCOLATE BAR
Of course no holiday setup is complete without a chic hot chocolate bar. Get festive with a customized and modern hot chocolate bar. Your guests will be raving about it- guaranteed!

I added chic and modern hot chocolate topping jar labels to my mini toppings jars. How cute are these?

I have been obsessed with hot chocolate bombs lately. These are the easiest and quickest way to enjoy the perfect cup of hot chocolate. Simply pour hot milk on top. I ordered mine from The Sweet Boutique Bakery . They are now shipping their hot chocolate bombs all across the U.S. Such a fun stocking stuffer to surprise a long-distance friend or gifts for the family.

Try my Nutella & Graham Cracker cup rim tutorial for a yummy treat. Get creative with customized cup sleeves that everyone will love.


