The best way of learning how to mix your colours is by making yourself a colour wheel.
Procedures for creating a purple shade with paint
Painting your miniatures, taking them from bare plastic to fully realised warriors, is one of the most satisfying parts of the Warhammer hobby. Display your miniatures, use them in your games, and enjoy painting as a creative and relaxing pastime.
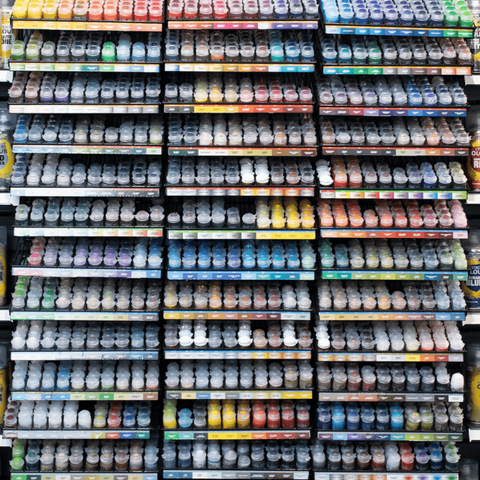
Paint Made for Miniatures
Nobody knows miniatures like we do – we’ve been painting them for four decades, so we know what works! With more than 300 paints in the range, Citadel Colour allows you to recreate iconic colour schemes you’ve seen in books, on box art, and beyond and brings your miniatures and terrain to life.
Visit the Getting Started page and begin your Warhammer painting journey today!
Visit Your Local Warhammer Store
Our friendly staff will be happy to show you the basics with a free painting activity.
You’ll even get to keep the model you paint!


Get the latest painting advice and inspiration sent straight to your inbox. Subscribe Now
Stay up to date
Get painting tips delivered direct to your inbox! Subscribe to our newsletter now
© Copyright Games Workshop Limited 2021. GW, Games Workshop, Citadel, White Dwarf, Space Marine, 40K, Warhammer, Warhammer 40,000, the ‘Aquila’ Double-headed Eagle logo, Warhammer Age of Sigmar, Battletome, Stormcast Eternals, and all associated logos, illustrations, images, names, creatures, races, vehicles, locations, weapons, characters, and the distinctive likenesses thereof, are either ® or ™, and/or © Games Workshop Limited, variably registered around the world. All Rights Reserved.
Proper Purple

Interior One-Coat Hide

Exterior One-Coat Hide
Interior/Exterior One-Coat Hide
LRV R G B
 Save to My Colours Remove From My Colours Visualize this Colour
* One-coat hide guaranteed when tinted into BEHR DYNASTY ™ and MARQUEE ® Interior paint. Limitations apply. For more information, visit the One-Coat Colour Guarantee page.
* One-coat hide guaranteed when tinted into BEHR MARQUEE ® Exterior paint. Limitations apply. For more information, visit the Marquee Guarantee page.
* One-coat hide guaranteed when tinted into BEHR DYNASTY ™ Interior and MARQUEE ® Interior and Exterior paint. Limitations apply. For more information, visit the One-Coat Colour Guarantee page.
Latest Reviews
No Reviews Yet

Unlock the Follow Along Class HERE
Transferring the template

Use your preferred method to transfer the template to the canvas.
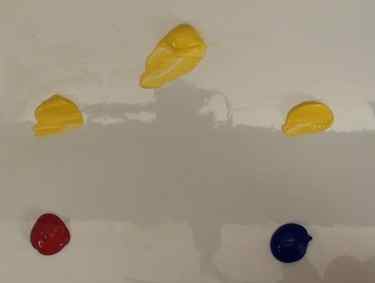
The three primary colours

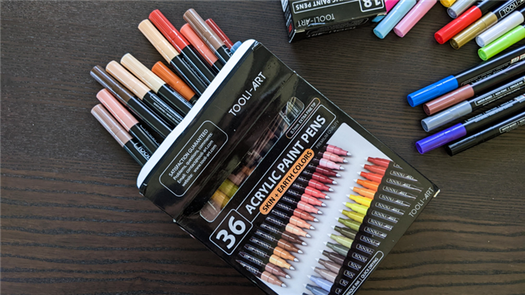
Label the actual colours you are going to use. The three most common colours to use in a colour wheel are cadmium yellow, cadmium red, and French ultramarine blue. Do note, though, that for this demonstration Nolan is using Atelier brand paints: arylamide yellow light, French ultramarine blue, and napthol crimson)
The importance of chroma in mixing
Chroma refers to how strong or intense the color is. Lay the primary colours down on your color wheel, then think about their chroma. Since the red and the blue have more intense chroma, they will be mixed little by little into the yellow.
Mixing the secondary colours and tertiary colours
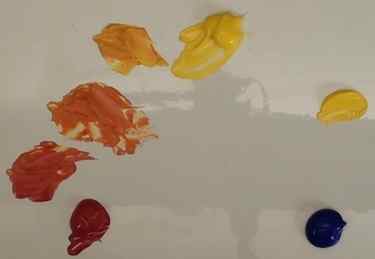
Once you have the first secondary colour (orange) mixed on your palette (they will be transferred to the canvas once all the colours are mixed), separate a bit to either side on the colour wheel and add more of the primary colour next to it to create a red-orange (deep orange) and a yellow-orange (mustard).

Use the same procedure to create the green, yellow-green (lime), and blue-green (turquoise) colours. Repeat for the purple, red/purple (maroon), and blue-purple (violet) colours. Note that the chroma on the red is much stronger than the blue, so you will need to add more blue than red to get the correct purple colour.
Painting the colour wheel

Have a tub of water handy as you will be cleaning your brush between colours.
Using a soft-bristled bright bush, paint the yellow in the second stripe at the top of the wheel. (The top stripe will be done later with the shadow colour.)

Next, paint the top center of the circle white. Then add white to the block just above it (in the yellow column).

Starting at the bottom of the column, add a tiny bit of yellow to the small white block. Without cleaning your brush, pick up a bit more yellow, and paint the box above. Do the same procedure for the next block up. Be sure there is a distinct difference in each block from white to yellow.
Wash you brush and proceed to the next colour on the wheel. This time you will add a bit of white to the main colour as you work your way block-by-block down the column. Wash your brush and repeat this process for each remaining column.
Examine your wheel to be sure you have a gradual progression from colour to colour. Adjust as needed.
Adding the complementary (shadow) colours

Paint the sides with yellow and a touch of the green mix as shown and then fill and blend the centre with yellow and a touch of yellow ochre.