The lineTo() Method (Add a line to the path)
Canvas arc() Method
The arc() method creates a circle or a part of a circle.
Use the stroke() or fill() method to draw the path.
Center: arc(100, 75, 50, 0 * Math.PI, 1.5 * Math.PI)
Start angle: arc(100, 75, 50, 0, 1.5 * Math.PI)
End angle: arc(100, 75, 50, 0 * Math.PI, 1.5 * Math.PI)
| context.arc(x, y, r, sAngle, eAngle, counterclockwise) |
| Param | Description | Play it |
|---|---|---|
| x | The x-coordinate of the center of the circle | Play it » |
| y | The y-coordinate of the center of the circle | Play it » |
| r | The radius of the circle | Play it » |
| sAngle | The starting angle, in radians (0 is at the 3 o’clock position of the arc’s circle) | Play it » |
| eAngle | The ending angle, in radians | Play it » |
| counterclockwise | Optional. Specifies whether the drawing should be counterclockwise or clockwise. False is default, and indicates clockwise, while true indicates counter-clockwise. | Play it » |
| NONE |
More Examples
Example
Draw an orange circle:
const canvas = document.getElementById(“myCanvas”);
const ctx = canvas.getContext(“2d”);
ctx.beginPath();
ctx.arc(100, 75, 50, 0, 2 * Math.PI);
ctx.fillStyle = “orange”;
ctx.fill();
How to Create a Custom Circle Logo for a 16 x 16 Canvas – using Photoshop
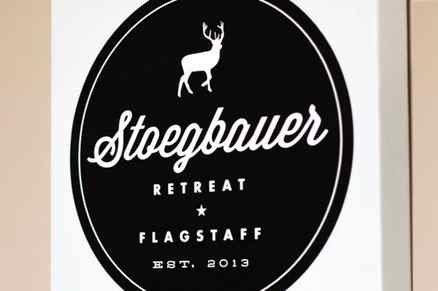
Kim Stoegbauer of The TomKat Studio recently provided her readers with a How to Create Your Own Custom Logo Artwork Tutorial. Kim used a program called Picasa, but several readers asked her if she could provide the tutorial using Photoshop instead. Because Kim doesn’t use/know Photoshop, I thought I’d help a sister out…and provide her readers, as well as my own, with how-to instructions using Photoshop.
You can find Kim’s original tutorial here. And here’s mine using Photoshop + Kim’s…Enjoy!
Skip Kim’s Step #1 and go straight to Step #2.
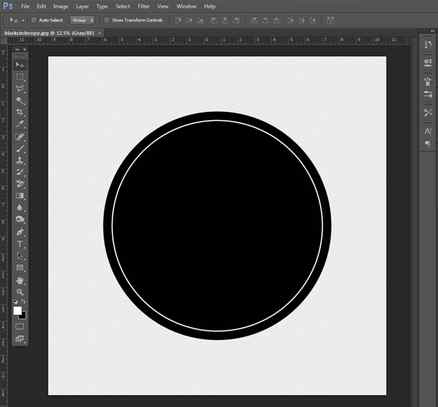
STEP #2: DOWNLOAD THE CIRCLE GRAPHICS
Kim created this circle graphic with a gray linen background in both black and white. Download whichever you prefer and save somewhere on your computer where you can find it. Please note this is formatted with extra border space for a 16 x 16 canvas so it can wrap around the sides of the canvas. It may work on a smaller square canvas as well, but I have only used it on the 16 x 16 Shutterfly canvas. Download the black circle graphic | Download the white circle graphic (these links will download the zip file, right click on the jpeg file and select copy, then paste in a folder where you can find it)

STEP #3: OPEN PHOTOSHOP ON YOUR COMPUTER
Open Photoshop on your computer and find your circle graphic. Click on the file name to open. Then select: File, Save as, circlecopy. This way you are saving the blank original circle graphic in case you want to make another one later.
STEP #4: ADD TEXT, CHANGE FONT, CHANGE TEXT COLORS
Select the Horizontal Type Tool (T). Left click on the circle and type one of the words or phrases you would like to use on the logo.

Choose the font color (white is best on black obviously) and font style. For Kim’s logo, she used Wisdom Script, Futura and 58 Rodeo (all free fonts). If you want to use the same fonts that she used, you will want to download them and add them to your font file on your computer so that they will show up in your font list. At the top of your screen, left click on window, left click on character and locate your font here.
STEP #5: RESIZE AND MOVE TEXT
With the Horizontal Type Tool still selected, highlight over the text you’re working on and adjust the size to what you think looks and fits well, but don’t worry because you can continue adjusting the size and placement as you add more words and graphics to your logo. Select the Move Tool to move the text to the desired location.

Repeat, adding all text.
FOLLOW KIM’S STEP #6: ADD EMBELLISHMENTS
You can add graphics like the heart shown below and the deer silhouette shown on Kim’s canvas by searching for free dingbat fonts online. Just search for the object you are looking for, ie. “free heart dingbat font” and download font just like any other font. Add the dingbats to your logo just like you would add text. You can create a line (as shown under “Ashton”) by using a basic font like Times New Roman and typing the underscore button repeatedly until the desired length of the line.

FOLLOW KIM’S STEP #7: SAVE AND UPLOAD
Save your file. Visit Shutterfly and select Canvas Prints. Then select Photo Gallery Canvas Print. Choose the 16? x 16? size. Click Personalize and upload your saved graphic file you just created.

Hope this helps! Let me know if you have any questions.
Image Sources:
1, 2, 6 and 7 are The TomKat Studio’s.
3, 4, 5 are Your Marketing BFF’s.


