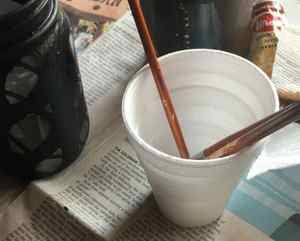
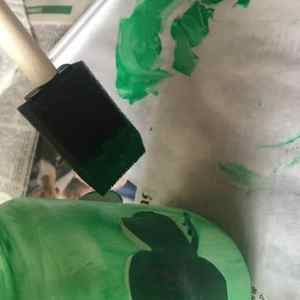
I use a mixture of foam brushes and paint brushes to paint the mason jar. It can take more time to obtain a smooth finish with the paint as paint and glass and gravity do come into the equation.
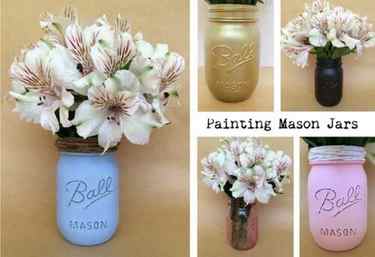
DIY Painted Mason Jars

I’ve seen beautiful painted mason jars, and always wondered how to do it. I thought it would be difficult, but it turns out that painting mason jars with acrylic paint is quick, easy and beautiful!
What Kind of Paint to Use?
Not having painted mason jars before, I thought that I would need some sort of special glass paint. But I was wrong.
After looking into DecoArt’s Americana Multi-Surface Acryclic Paints, I was surprised that I could paint mason jars with the paint directly! No need for a primer or special glass paint and curing.
Once I realized that an inexpensive bottle of multi-surface acrylic paint could be used (and that I could use on many other different craft projects), I was hooked.
How to Paint Mason Jars with Acrylic Paint
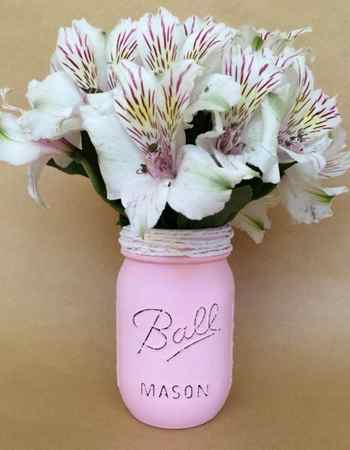
I instantly wanted to make flower vases out of mason jars I already had. They are perfect to show off your flowers!
Of course, I wanted to make them fun, colorful and out of the ordinary. So I also added some glitter for extra sparkle. Here’s how I painted my mason jars.
Materials
- 3 glass jars in varying sizes, lids removed
- Decoart Multi Surface Paint in Soft Jade, Coastal Waters, Iris
- Medium Flat Tip Paint brush
- Decoart Galaxy Glitterin Clear Ice Comet
- Painter’s Tape, 1” wide
Instructions
Thoroughly wash the jars with soap and water. Dry completely before painting.
For each jar, position a piece of painter’s tape around the circumference in varying distances. For the smaller jar, apply only one piece of tape about halfway down.
Paint the lower half of the smallest jar in Iris.
Paint the spaces between the painter’s tape on one of the medium sized jars in Coastal Waters acrylic paint.
Paint the spaces between the painter’s tape on the other medium sized jar in Soft Jade acrylic.
Repeat with an additional coat of paint for more coverage. Repeat as often as you want for the coverage you want. Make sure the paint is fully dry before applying additional coats.
Cover the painted portions of the jars in Galaxy Glitter paint. Repeat as needed until desired coverage is achieved. The glitter paint can be a little thin in coverage. I applied 3 coats of glitter paint to get this amount of sparkle.
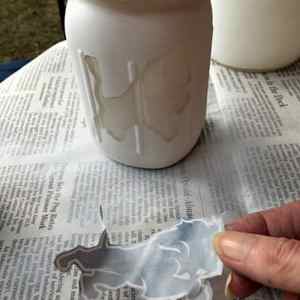
Peel off the painter’s tape when dry.
This craft is so simple, you could make lots of them for gifts!
Check out our easy craft for a mason jar tissue holder.
You can also tint mason jars, too, for a stained glass look. Here’s my tutorial for DIY Sea Glass Mason Jars.
Get More DIY!
Have our free weekly newsletters with the best tips, new home improvement projects and easy crafts sent to you!
Thank you!
I’m so glad you joined us!
Folkart Acrylic
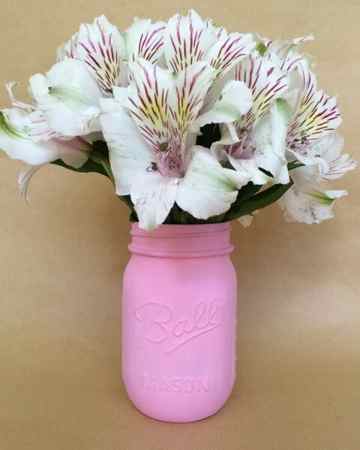
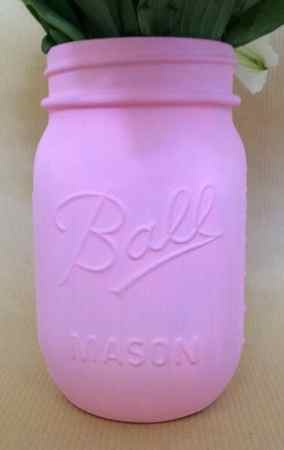
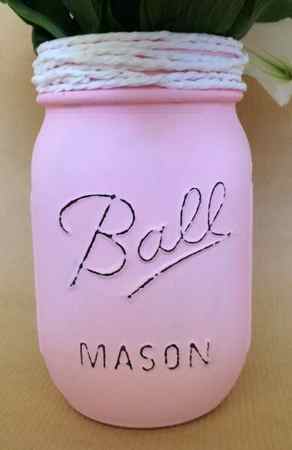
The jar above used Plaid’s Folkart Acrylic Paint in Bright Baby Pink. It is a nice thick acrylic paint compared to many on the market, providing amazing coverage and control. In some lights, the coverage appears fine, while it appears spotty in others. The overall effect is very rustic, with visible graining from the spouncer.
Opaque/Transparent: Opaque
Application: primer, two coats with large spouncer
Surface: exterior
Finish: matte
Waterproof: no
Uses: Vase, Storage
Krylon Premium 18kt Gold Plate
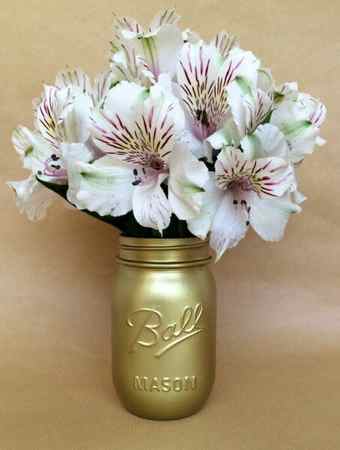
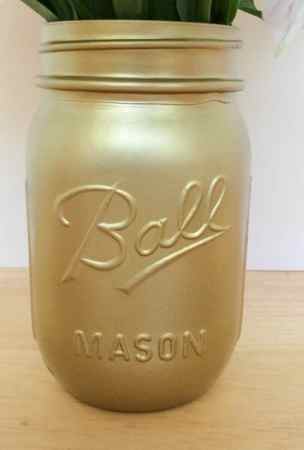
The finish I got with the Krylon 18kt Gold Plate Spray Paint is downright gorgeous. I used the same spray technique – with a 1×2 as a prop – that I used for the items that I coated with spray primer (that wood is very colorful now). The resulting finish is virtually flawless, showing only imperfections in the actual glass underneath. This finish would make a beautiful addition to a party table or home decor but there is one major drawback – the cost. With a retail price of around $6, this paint isn’t cheap, and it feels like I’ve depleted over half of the can finishing just this one jar.
Opaque/Transparent: Opaque
Application: sprayed three coats
Surface: exterior
Finish: metallic
Waterproof: no
Uses: Vase, Storage
DecoArt Americana Decor Chalky Finish Acrylic
The Americana Decor Chalky Finish paints seem to primarily be marketed to use on cottage-style furniture in the burgeoning DIY market, but they can also be used on surfaces like metal and glass. This paint is water-based and has a wonderful soft feel when you run your fingers over the dried finish. It distressed easily with a piece of sandpaper to complete the antique, shabby look for the jar (and showing off the logo in the process). It’s also a fairly cost-effective option. A small-looking 8oz jar retails for $6-8, depending on the outlet, but this thick paint spreads and goes a long way so a single jar will get you loads of coverage. I barely made a dent in mine doing this jar and two failed previous versions.
Opaque/Transparent: Opaque
Application: sprayed primer, painted three coats with spouncer
Surface: exterior
Finish: chalky (matte)
Waterproof: no
Uses: Vase, Storage
The Third Way To Paint The Inside Of A Mason Jar
My favorite way to paint the inside of a mason jar for crafts is to use latex paint.
To paint the inside of the mason jar I pour indoor latex paint into the mason jar and swirl the paint around the jar. Once covered I turn the jar upside down to dry on a paper plate.
After a few minutes gravity will bring the excess paint to the bottom of the jar, I lift up the jar and move the jar to dry further; this helps reduce the amount of paint pooling in the lip of the jar.
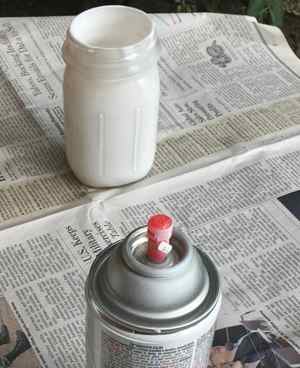
Which method do I prefer to paint the inside of a mason jar? I prefer methods 1 and 3 for different reasons. Method One with spray paint is very quick and dries quickly.
If time is an issue then using spray paint will be the quickest. Spray paint also comes in a huge selection of colors which can be customized to the mason jar craft.
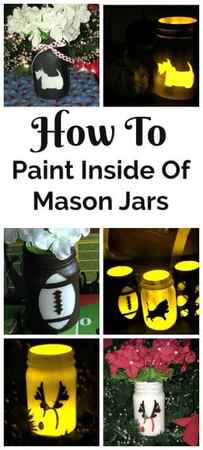
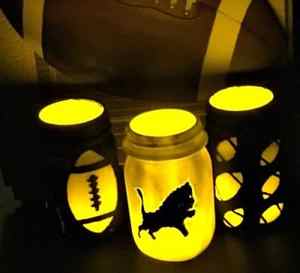
The Method I Use to Illuminate A Mason Jar
I prefer method three if the mason jar craft will be illuminated. The latex paint coats the inside the mason jar with a heavier coating and this really improves the glow of the mason jar.
Tea lights or flame less candles really work well to light up the mason jar.
For safety reasons I do not use real candles to illuminate a mason jar.
If I am going to stencil the outside of a mason jar for an illuminated jar, I use method 2 and 3.
First I use method three using latex paint to paint the inside of the mason jar.
Then I use method two with brushes when stenciling a design on the outside of a mason jar. Using brushes allows greater control of the paint which is necessary to achieve the stencil design adhering to the outside of the mason jar.
After the stencil is removed the only step left is to illuminate the mason jar. Learn how to make these easy Football Mason Jars for game day and tailgating parties. So easy and fun!
Where To Find Or Purchase Mason Jars?
Of course the first step to painting a mason jar for holiday mason jar crafts is the mason jar! Where to find or purchase mason jars?
Ask your friends and neighbors! You would be surprised the number of unwanted mason jars hiding in the shelves. Many have ‘retired’ from canning their fruits and vegetables, but kept the mason jars and are happy to donate.
If looking for a mini or small mason jar or a special size of mason jar then the opportunities are endless and Online offers a huge variety of sizes
Local independent hardware store
Home goods stores (especially in the summer and fall)
Holiday Mason Jar Craft Ideas
Favorite Christmas Dog Mason Jars


